A few weeks back I shared with you that we bought a new (to us) camper and were upgrading our space. I had dreams of living in our little vintage camper for a long time but, the reality of space hit us, and we finally decided to get a larger camper.

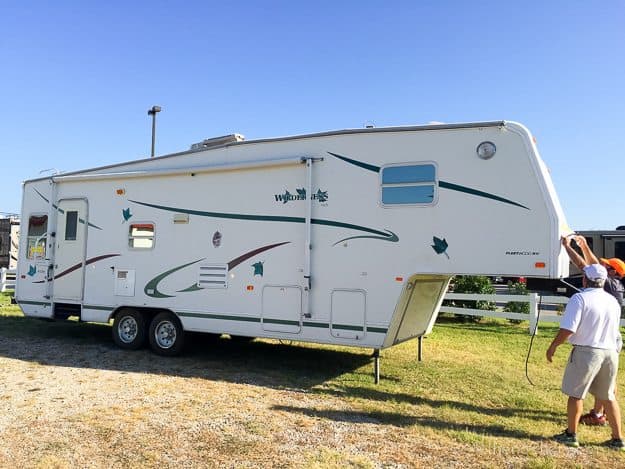
Our “new” camper is a 2002 31ft fifth-wheel Fleetwood Wilderness with two slide outs. And, like most campers it was decorated by either Paul Bunyan or Paul Bunyan’s grandmother. Between our work schedules, learning as you go and the triple digit temperatures, our mission to paint and redecorate was slow going. We are finally living in the camper but, we still have a few more things to do before the big before and after reveal. But, in the meantime I thought I would share with you how we painted the interior of our camper.
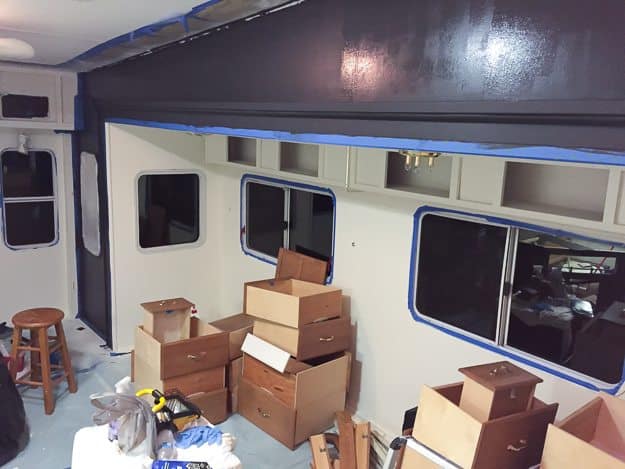
Step 1: Remove Cabinet Doors, Drawers, and Hardware
First, we removed all of the cabinet doors, drawers, and the hardware. However make sure you have a sharpie and painters tape handy to number the doors, drawers, and spaces from where they were removed; this will help the process of replacing everything much easier. If you plan on reusing the hardware store all the hardware and screws in resealable plastic bags and label for later use.
When you do get around to painting be careful not to paint over the labels. When painting the doors just remove the tape and place next to the door until the door has dried, and the tape can be put back on. Trust me when I say it’s important to number everything if you don’t remount the doors can become a life-size jigsaw puzzle. Store them in a safe, dry area until it’s time to paint.
Step 2: Cover All Surfaces
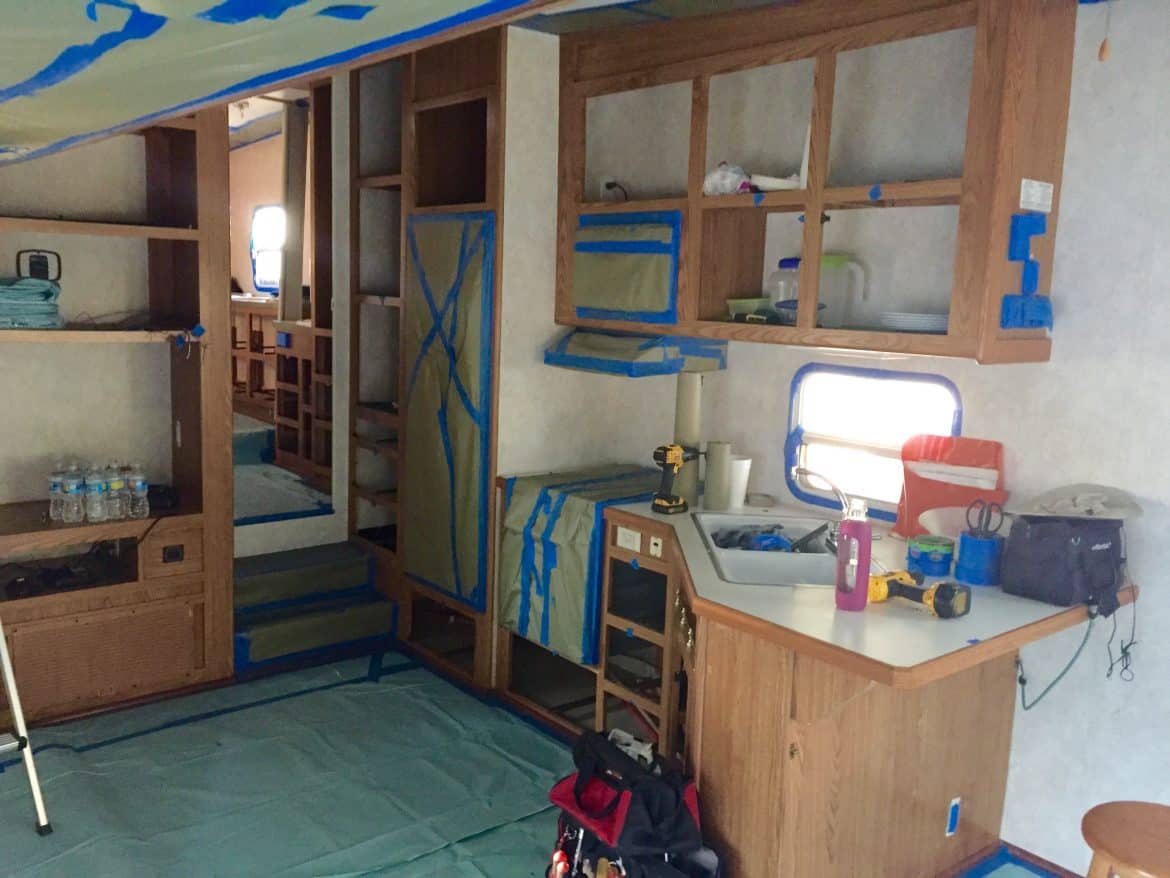
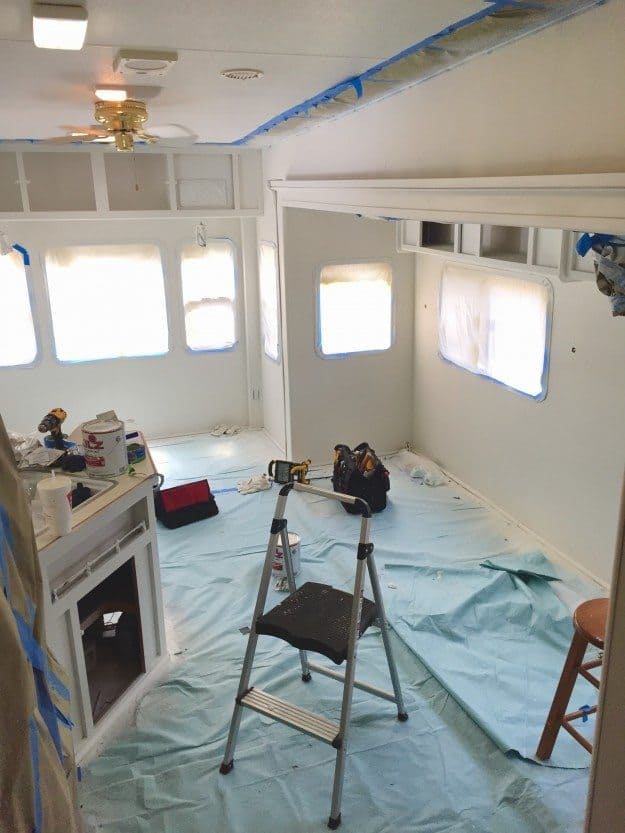
I know that taping and covering surfaces is tedious but, it’s an important step. The moment you drip or spill one drop of paint you will be grateful. We spent an entire weekend covering every nook and cranny that was not supposed to be painted. In the mind of a crazy lady, i.e. my mind, this is a quick and simple job, but I warn you that your mind lies to you! IT LIES! When I say we spent all weekend covering and taping surfaces I mean ALL WEEKEND! I was starting to dream about blue painters tape.
We covered every surface that was not going to be primed or painted; this includes every switch, plug, vent or piece of hardware that was not removed. The ceiling and appliances were covered with paper secured with painter’s tape. On the floor, we laid out a Trimaco drop cloth and secured it with painters tape. I highly recommend the Trimaco Drop Cloth, it’s durable and holds up to drips and spills. And, I can speak about this from experience because we had a spill and had zero issues with leakage. Also, the drop cloth was down for several weeks while worked in the camper with no tares. We covered the windows with clear plastic drop cloth; this protected the windows from paint and still allowed in the light.
Step 3: Prep and Clean Surfaces with Acetone
Modern campers are very likely to have a built-in gas detector. You will find it close to the floor probably around the kitchen area. This detector alerts you if there is a propane leak in your camper. And, apparently, it will also alert you if you’re using acetone. If you think a smoke alarm is annoying, this alarm will make your ears bleed. In other words, disconnect the gas detector. We couldn’t find a fuse or way to disconnect ours, so we had to cut the wires and reconnect them later.
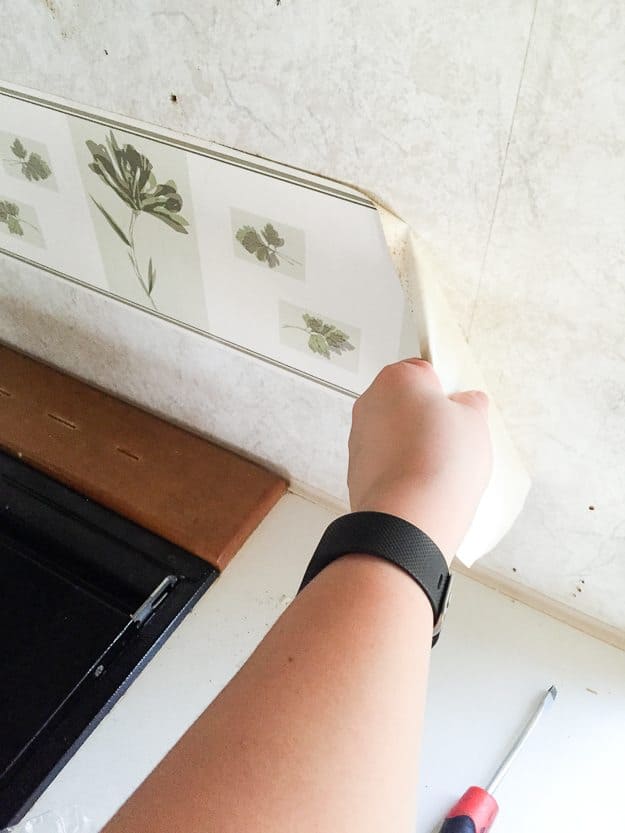
If your camper has a decorative border it can be easily removed. Using a paint scraper, I lifted the edge of the border. While gently pulling the border use the scraper to remove the border. If your border is particularly stubborn, you can get a heat gun to help with removal.
If any sticky residue remains, spray it with Goo Gone Spray Gel let it sit for a minute or two and using the paint scraper scrape off the residue. Repeat as needed and then wipe with a rag soaked with acetone.
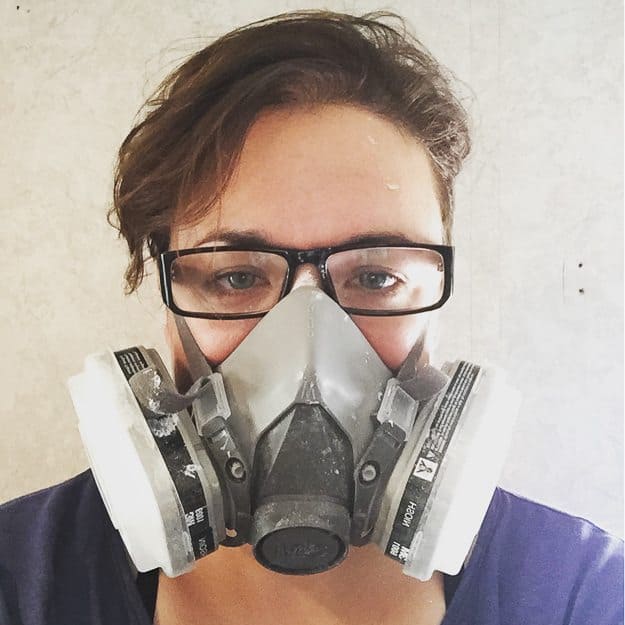
One of the challenges of painting a camper is the fumes that can build up in a small space. Make sure that all the windows are open, vent fans are on, and it also helps to have a box fan to help circulate the air. But even with all of this, it’s important to wear a respirator mask, eye protection and gloves for the next few steps. I highly recommend the 3m painting respirator mask. I know it’s pricey, but it does the job. When we started, we just wore a basic dust mask and it was pointless. We went and grabbed a set of respirator masks, and it allowed us to work without choking on the fumes.
The acetone is pretty much a heavy duty version of the acetone used in nail salons. But, as a precaution, we wore heavy duty cleaning gloves to protect our hands while we cleaned with acetone. However, the acetone does slowly break down the gloves. If it’s possible, I recommend doubling up your gloves. Otherwise, pay attention to whether the gloves are beginning to thin and change them out.
While wearing all your protective gear soak a rag with acetone and rub it over all wood and faux wood surfaces, including cabinet doors and drawers that were previously removed. It will be necessary to continue to wet the rag with acetone as it is a solvent that quickly evaporates. Pay extra attention to the kitchen as this is where there is the most build-up of dirt and grime. The walls of our camper were covered with wallpaper, so we did not bother to clean the walls. However, if you are working on a camper that has wood paneling, I do recommend that those surfaces also be cleaned with acetone.
Step 4: Primer
Finally, once we got all the surfaces covered and prepped it was time to prime.
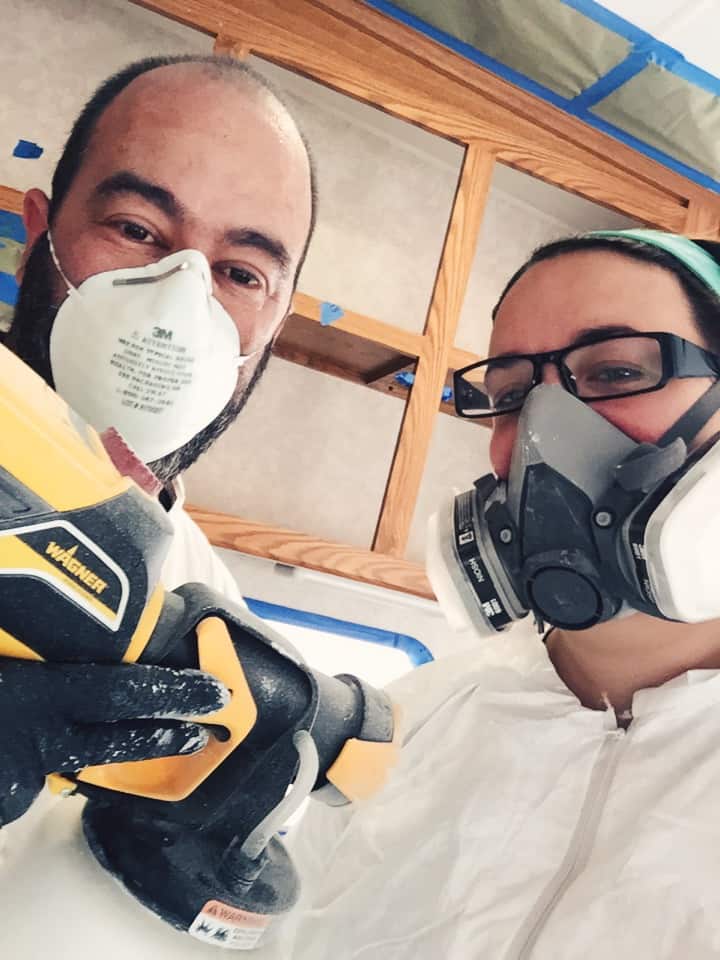
You can choose to apply primer one of two ways. You can roll/paint it on or use a spray gun to spray it on. We decided to go with the spray gun. For this step, it is VERY VERY important that you are protected. When we started the priming process, we were dressed like this. (By the way, I LOVE this picture! Hehehehe! ) We quickly learned that we needed more protection.
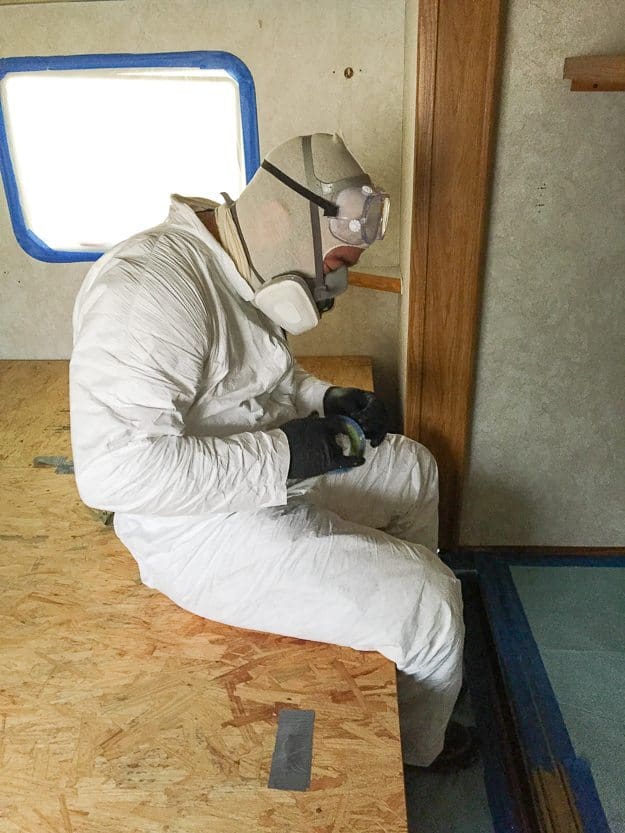
That when we decided to go with this super sexy assemblage.
Spraying primer in a small space is intense! The paint gets everywhere and hangs in the air like a heavy cloud. It is very important to wear protective gear.
Also, be ready to sweat a gallon a minute. Holy smokes we were ripe after an afternoon spent in those suits. Even if you choose to roll the paint and primer I still recommend the protective wear, especially the mask. There is no getting around the fumes, trust me!
If you opt to use a spray gun and are using it for the first time, it takes a little bit to get a hang of it. Don’t stress. Start off in an area that is not as visible like the back of the closet or the area behind the couch. Once you get the hang of it, feel free to move about the camper. 😉 If you do get a spot with rippling, or uneven spray use a sander to smooth it out.
Step 5: Paint
Finally, it was time to paint! At first, we were going to spray the paint but we decided to roll and brush it on instead since we were using multiple colors and didn’t what to concern ourselves with overspray.
The number of coats needed will depend on the color of your paint. For example, since the primer was white our white color only required one coat but the dark gray was best with two coats. Take your time painting and be sure to allow the paint to dry between coats.
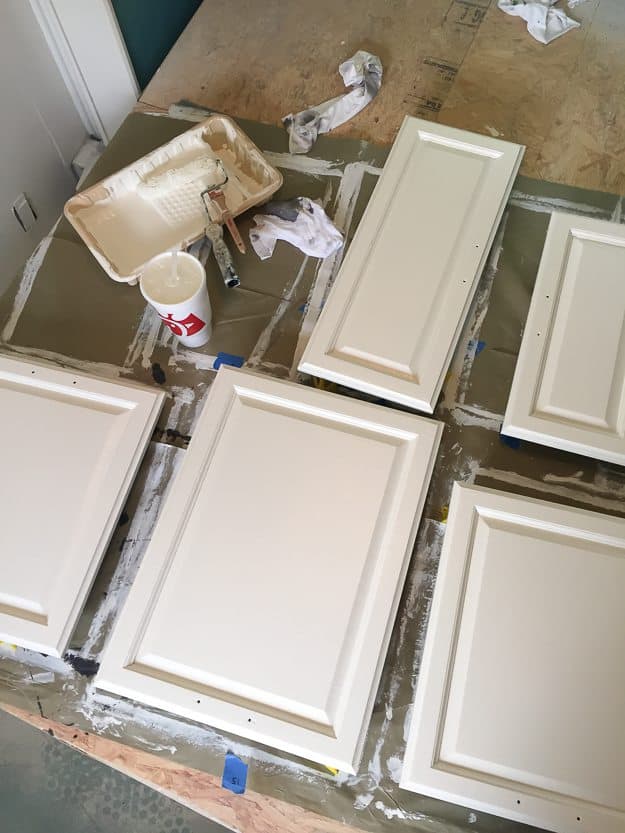
For the cabinet doors, we used foam cabinet rollers and a 1-inch Purdy paint brush to paint the grooves. I found it was best to paint with the brush and then roll on the paint for an even finish.
Give the cabinet doors and drawers a full day to dry and cure before replacing the hardware and hanging. If the cabinet doors and drawers are not given enough time to dry, they will stick when hung and damage the paint.
Step 6: Cabinet Hardware and Hanging
Hanging the cabinet doors sounds easy enough but it more challenging than you think. Regardless if you replace or reuse the hardware and use the same holes to hang them they won’t always hang properly. The millimeters of added paint throws off the hinges and closures.
The cabinets doors of a camper can have several pieces of hardware. Normally it is a combo of hinges and a latch. What worked best for us was hanging the doors using the same holes and adjusting the placement of the latch.
Step 7: Clean and Touch Up
No matter how hard you try and how much you tape it is inevitable that there will be some drips or bleeding. Do not fret! It can be easily cleaned and touched up.
Using a cotton swab, or your fingertip and a rag dipped in acetone, gently dab and wipe the drip away. If it is a paint color that has bled on to another color gently clean with the acetone and uses small craft paint brushes to touch up with the desired paint color.
Finally, it’s time to remove all the painter’s tape and coverings! Because of the multiple layers of primer and paint, some of the tapes will be challenging to remove. It’s annoying, but it will come off.
Once all the tape and coverings have been removed, give your work a hard look over. Look for any missed spots especially around trim, switches or plugs. If you see some missed spots use a small craft painting brush to touch them up.
Stand back and admire your work!
Final Notes
Painting a camper interior is not a weekend project. Our camper is a 31-ft fifth wheel and roughly 300 square feet. It took us probably five entire weekends working from morning till night to prep, prime and paint. It’s a project that requires a lot of work, sweat and patience. However, all the hard work is worth every drop of sweat. The space is so much more personal and welcoming, and I can take a great amount of pride in what we accomplished.
3m’s Advanced Multi-Surface Painter’s Tape with the neon green print on the tape does not work on the slick surfaces of a camper. It’s best to you the original solid blue painter’s tape.
Supply List
Below is a list of all the tools and products that we used. The amount of supplies and paint varies by the project so we used Lowe’s paint calculator to estimate the amount of paint we needed. All supplies were provided by Lowe’s.
-
- Kilz Original Primer
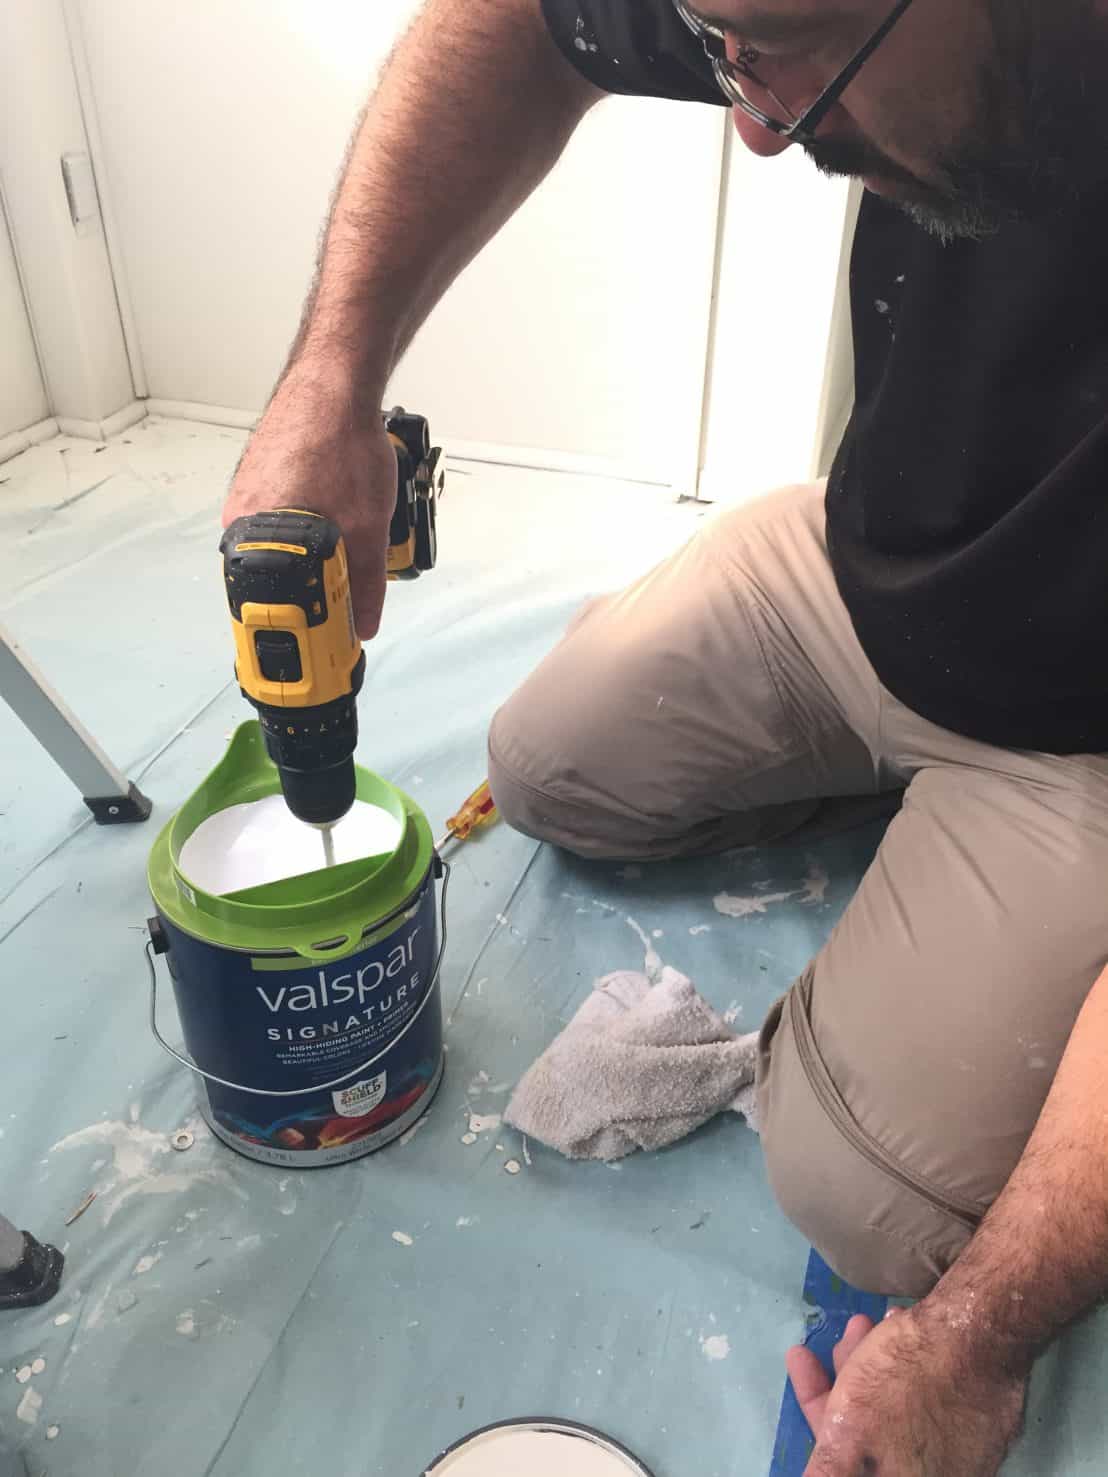
- Valspar Signature Paint + Primer
- Trimaco Drop Cloth
- Crown Acetone
- Trimaco Paper Drop Cloth Roll
- 3m Painters Tape
- Wagner Control Spray Handheld Spray Painter
- 3m Painting Respirator
- 3m Plastic Chemical Impact Goggle
- Tyvek Coveralls
- Purdy Paint Brush 3 pack
- Wooster Brush Paint Trays
- Wooster Brush Paint Tray Liners
- Handy Paint Pail
- Handy Paint Pail Liners
- Wooster Brush Paint Rollers
- Wooster Brush Roller Frame
- Project Source Paint Brush Variety Pack
- Proline Bag of Rags
- Plastic Drop Cloth
- Venom Steel Cleaning Gloves
See the finished camper here!
Tiny House Living: Camper Home Reveal (Before & After)
I used frog tape and upon removing it….it pulled the wood finish up off of what I was protecting. I thought it was veneer but apparently not. I about had a heart attack so be careful about what kind of faux wood your are taping off.
So it has been a year since you painted. Are the cabinets still great. Everyone says you have to SAND the cabinets for the paint to adhere well. Upset used acetone and cleaned your. How is it holding up? By the way you did a great job on this article.
We did not have to sand our cabinets. With giving them a good cleaning, priming, & painting the cabinets have held up well. We have since sold this trailer to a friend and she is still happy with the paint job.
What type of paint was used? Acrylic? Oil? Is it interior paint or exterior? Won’t the weather matter considering that exterior is meant to withhold climate way more than interior.
It’s interior paint. We have had no issues with the paint.
I have a question on painting the wall paper that comes with the trailer….prime it, then paint it, does that guarantee that it won’t buckle or peel off—the original wallpaper from the camper. I know the paint won’t peel off after it’s primed, I guess I’m paranoid that the wallpaper itself will peel off the camper walls after it’s been painted.
Wallpaper on campers is very thin. It’s practically a laminate. Even if you try to remove it it’s like cardboard or particle board behind it and you are likely to damage the wall. It’s designed this way so that it doesn’t peel off. I don’t know the condition of your trailer or the type of wallpaper of every RV but I can say that we have had no issues with ours. In fact, we have since sold it to a close friend and they have mentioned no issues.
For the wallpaper already on the trailer (especially in the kitchen), you took off the runner, but did you simply rub the wallpaper down with acetone and then prime and paint over it? Did you actually take off the wallpaper?
We only removed the boarder, then wiped the walls and primed and painted over the wall paper. We the acetone was more for the cabinets. The walls we just cleaned with a hot wet rag. If there are areas of the wall that are really dirty you will want to give them a better scrub.
I’m curious about why you needed to prime first when you used a paint +primer to paint with.
I just wanted to ensure durability.
We also have a fifth wheel and want to paint and replace the flooring and carpet area with stick planks.. wondering if you had a problem with the lip on the pop out?…we can’t figure out how to approach this task.. any thoughts?
We lucked out, the floors were already redone when we purchased the trailer. Sorry, I can’t help.
Something in the area of a transition strip should help. I read that while searching ‘rv remodel’ on Pinterest but I don’t remember which page.
Most campers have wallpaper. Did you remove it before you painted or just paint over it? We are getting ready to remodel a camper and I don’t want to have to remove wallpaper if I don’t have to.
We painted over the wallpaper. We primed it first and then painted.
Love this and all the detailed instruction! We just purchased a 38 ft with 3 slide outs. We are downsizing and selling our house and planning to live in the camper for a time. How did you set it up electrically to live in permanently? For example: Using all electric with out the batteries and running various appliances at one time? And using city/rural water? Thank you for sharing!
Hey there, I love your camper transformation! It looks beautiful. I wish I had of come across this before I started in mine and now having chipping even before we had them all completed. We asked a home depot person how to do it and I guess they lack in training within their assigned department, we even bought the more expensive paint with the primer built in as directed by the paint employee. luckily we haven’t finished them yet so only half of them will need to really be sanded and start over. we even bought spray paint and painted all the hardware after washing it really well, well that is a mess too all the paint is chipping off as well. Thank you so much for all the helpful information, Helene
I am curious about this…did u have any issues after winter with the paint peeling off or rolling?! Several people have told me not to repaint bc it will peel in the cold?
I haven’t lived in extremely cold weather (I live in Texas) so I couldn’t say with any certainty. I can say that we did have a cold month this winter where temps got below freezing and there were no issues.
Terrific tutorial!
Lovee your style! We had to replace floor in our fifth wheel. Uused laminate throughout (ditched the carpet) and now whenever we have the slideout in while traveling in rain, it leaks!! Looks like you got rid of your carpet. Have you had the sme problem? Been to multiple RV places and told we have to put carpet back- cant adjust slideout enough. Any thoughts? Thanks
We are buying a new fifth wheel, nicely appointed. But the interior of the house door is still basic white, which stands out like a sore thumb. We want to paint it. Did you paint yours? If so, what kind of paint did you use, and what has been your experience with it?
Our door was also white and we did not paint it. It blended well when we painted the wall white. You can see the before and after of the trailer here. http://thenoshery.com/new-camper-home-reveal/
Do you have information about your window coverings? I had old ‘valences’ which surrounded 3 sides of every window. They are soo gross, I removed them and the broken filthy day/night shades. Now I’m not sure what to reinstall. We travel so sometimes its wilderness outside, but also could be in a campground. I want light, but privacy options. What solutions have you found?
I know exactly what “valences” you are talking about. 😀 We removed out and installed regular curtains. We have an IKEA nearby, so we purchased our window hardware and curtains there.
Thank you for posting this process! I will be updating my class A soon and this info will be very helpful. Enjoy your RV!
Research Chalk Paint by Annie Sloan paint. Decorative paint for furniture and cabinets that you don’t need to sand, prime and no VOC’s. You will use the wax to seal it.
You can also make your own chalk paint !! I use calcium carbonate & I get it online from a vitiman site. Just mix some of it with regular layex paint !! You can adjust how chalky you want it too !!! You can Google it !! Anyways it works wonderful !!
Quick couple of questions for you- I’m assuming your camper, like most, had real wood for the cabinet panels and drawers but the framing was all laminate. Is this correct? And did you use the same technique for painting both the laminate and the wood? Also, I notice you mentioned nothing of sanding the surfaces. Is it not necessary to do that? I always thought sanding was crucial to prepping a surface to be painted. Thanks so much for this detailed tutorial! It helps so much and your camper turned out great! Congrats!
I found this so helpful and inspiring. I have just painted the cabinets in my kitchen I sanded them and primed them before painting. I read that you did not sand and yours. May I ask how are they holding up? I am now fixing to paint the interior of our travel trailer period I have removed all the doors and hardware and I’m at the point of cleaning and possibly sanding. But I would love to skip the sanding. After living with yours for as long as you have are you still happy with the way that it turned out?
May I ask why didn’t you spray the doors as well?
What a great transformation! We too are discussing taking this project one! My biggest concern is how the paint on the cabinets & walls will hold up??
It has been our experience that it is VERY helpful to put a couple coats (maybe 3) good quality matte polyurethane over the cured paint. The chance of chipping or peeling will be greatly reduced. I also like to lightly sand with fine grit between coats for good adhesion. Happy camping!
Badly wanted to see “before and after” photos…:-(
There is a link at the end of the post with the camper reveal.
Me too
Did you sand at all? I’m in the process of redoing our 5th wheel but have been putting off the cabinets because they have so much varnish on them! I feel they will take an eternity to sand down. Did you have to sand yours or was the primer enough?
We only cleaned them with the acetone and then primed them before painting.
Oh-My-Goodness!!! I just found your blog today and may I say, I am beyond impressed with how you’ve transformed your homes on wheels. Earlier this year we made the annual trek to the local RV show where we live in Austin, and guess what? You are so right, Paul Bunyon is still employed as the Chief of Design for the RV industry! How do you spell U-G-L-Y? This past fall we purchased a new 17′ fiberglass Casita trailer for weekend trips, but my husband wants a fifth wheel for long journeys after we retire. I’ve been so hesitant because the interiors are so distasteful and gloomy to me, like a nightmare throwback to the seventies. When I saw what you did with your RVs it inspired hope and a desire to do something similar, since now I know what’s possible. One question; what kind of finish did you choose for the paint; gloss, semi-gloss, satin, etc.? Did you use a different finish on the walls versus the cabinets? Thanks so much for sharing your experience of living small and happy in your beautiful homes. I look forward to future posts.
We use a satin finish for the white paint and egghell on the dark paint. Although I think it would have been better to use satin throughout. I like the eggshell finish on the dark color but it is a little more difficult to clean.
This is gorgeous and renews my faith in ever owning a trailer that doesn’t look atrocious inside. Is your camper still mobile after the remodel? My parents did some homey upgrades that didn’t hold up when it was moved.
Yes we are still mobile. All we did was paint and change out the furniture. There are items on the wall that we take down when traveling just to be on the safe side but otherwise no problems.
I’m planning to begin our camper remodel this summer, and I just KNEW that you’d have the entire process down pat. I pin your camper posts as you publish them, but I must have re-read them all at least six times as I muster the courage to start the project!
You can do it girl!
YAY!!!! LOVE all these details! This is a ton of work and you actually made it sound completely do-able.
I can only imagine how intense it was spraying in the camper! I can’t wait to see it all come together. I might even tackle painting a cabinet or two.