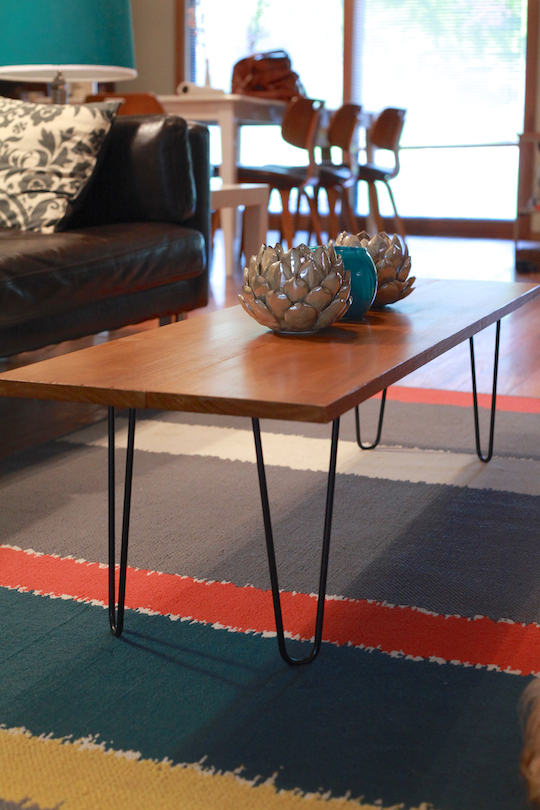
This weekend was a super busy weekend. Who am I kidding all of last week was crazy busy. I had to clean 40 chairs. No, you heard me right, 40 chairs. I thought my right arm was going to fall off. I will give you all the deets later. Right now I am going to show you this oh-so-fabulous little coffee table that I made, with the help of my handy husband.
I recently found some hairpin legs on Ebay and ordered a set with plans to make it into a coffee table. When the legs came in I explained my plans to OB and we headed over to the hardware store for supplies.
We got an 8 ft long 8″x 1″ hardwood board and had the attendant cut it in half for us. We also bought some small 2 ft 1 1/2″ x 1/4″ boards, screws, countersink drill bit & some wood stain.
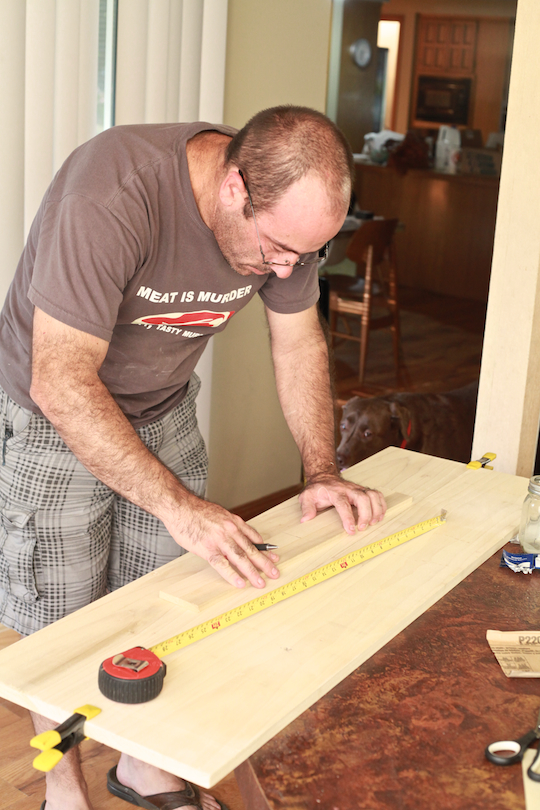
When we got home I had OB do all the measuring because he is very exact. I think being an accountant has something to do with it.
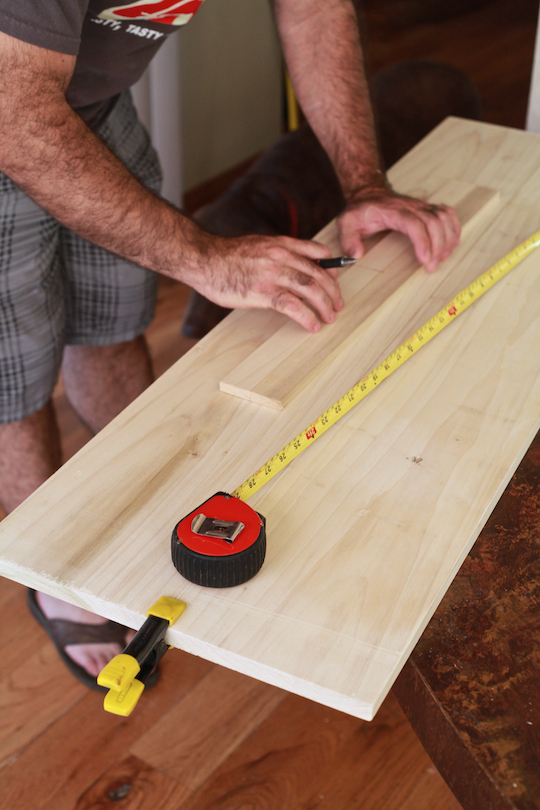
He clamped the boards together and planned out the location of the legs and small boards being used to hold the table top together.
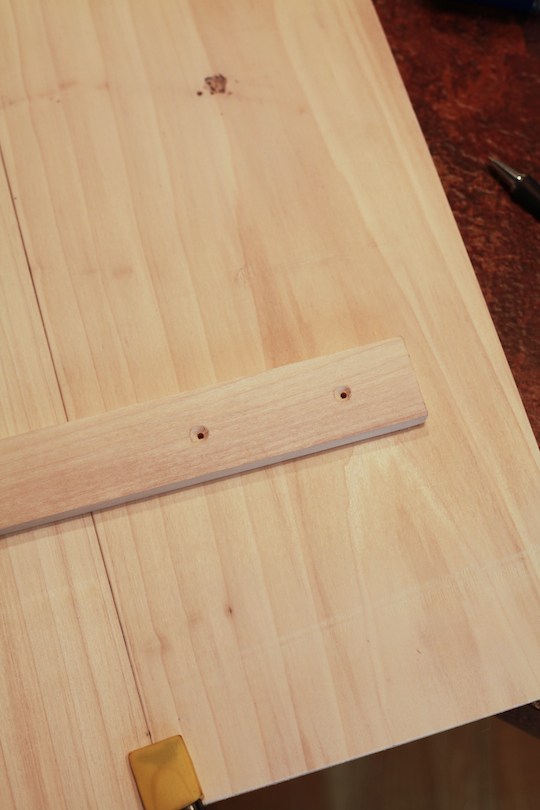
He pre-drilled all the holes with a #8 countersink drill bit. We used this bit so the flat head screws would be flush against the wood. Now just screw everything together but the legs. The legs will be attached after staining the wood.
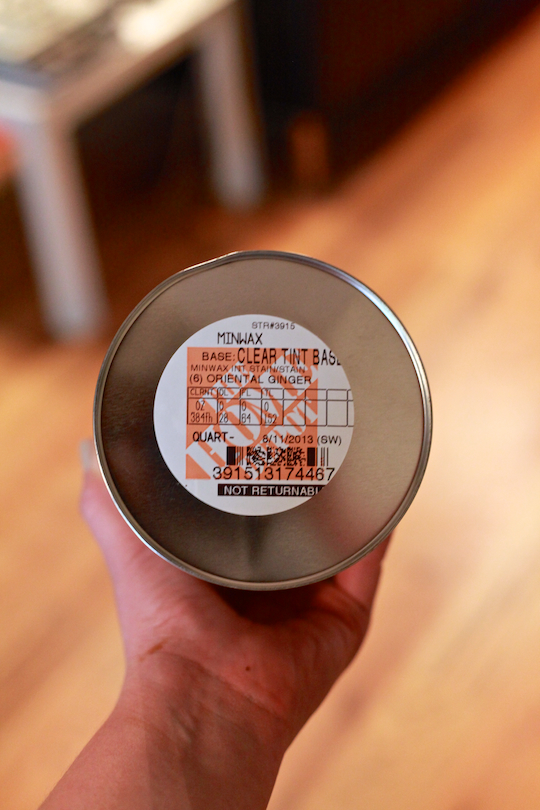
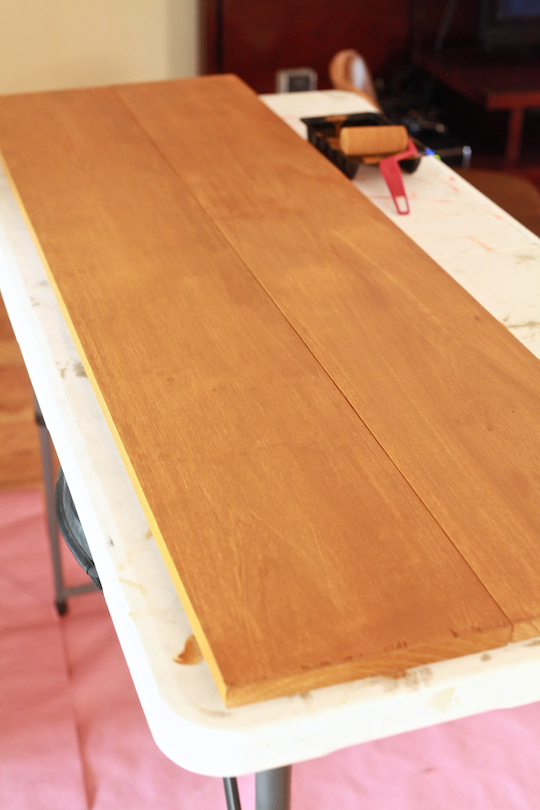
Prep the wood for staining. Gently sand it with 200 grain sandpaper smoothing out any rough spots. I chose the stain color Oriental Ginger, I would say it’s a honey color. But, Oriental Ginger does sound fancy.
For my table I just applied a single even coat on both sides using a foam roller but, the more coats you do the darker it gets.
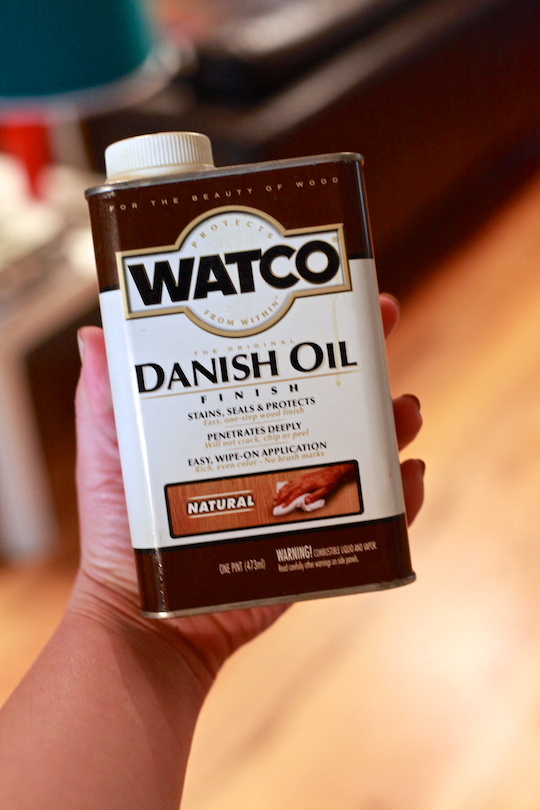
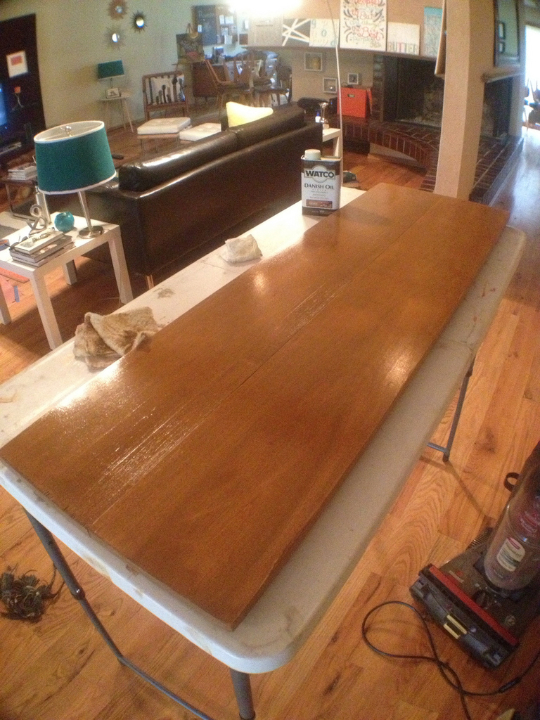
When the stain dried I took a clean cloth and rubbed Watco Danish Oil all over the table top.
I LOVE this stuff! It’s smelly and messy but it leaves a beautiful finish.
Leave the first coating for 30 minutes, then rub off the excess. Continue to rub with Danish oil, leaving for 15 minutes each time, until you get your desired coloring. I rubbed mine with Danish oil 3 times.
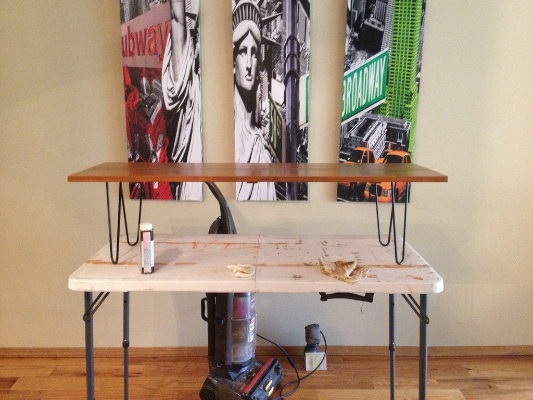
Once it is dry, it’s ready to attach legs.
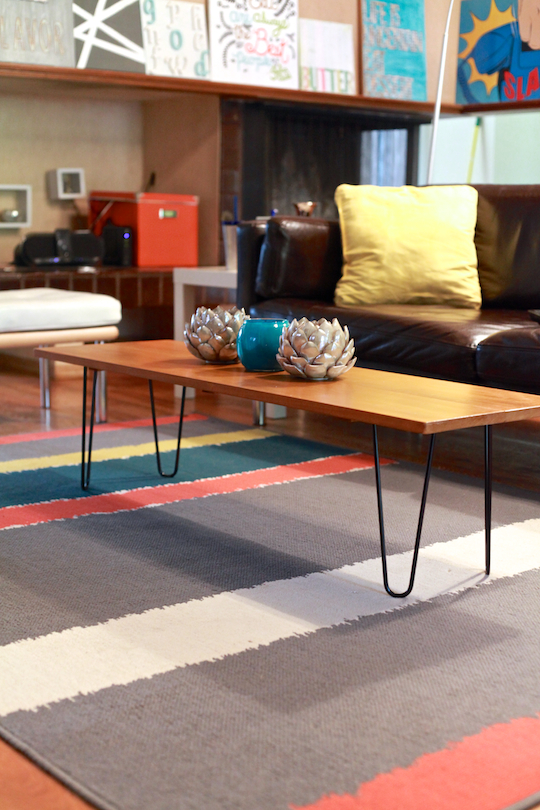
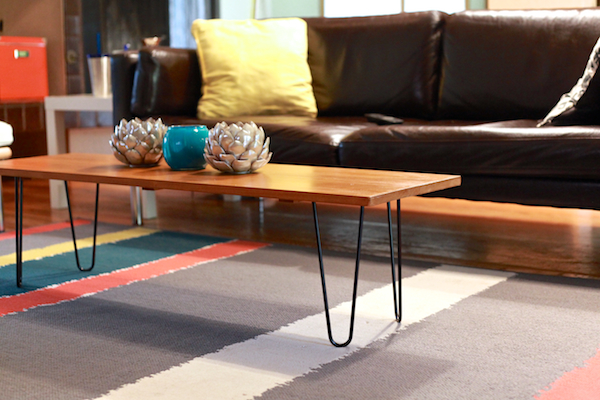
TA-DA new fabulous coffee table!
It’s beautiful!
And, it’s exactly what I wanted!
LOVE!
Here is a list of supplies for your neighborhood handyman. Now if you don’t mind I am going to stare at my coffee table.
Supplies
- 1 8ft 8″ x 1″ white hardwood board, cut in half
- 2 2ft 1 1/2″ x 1/4″ white hardwood, cut in half
- #8 1″ flat-head phillips wood screws, for boards
- #8 5/8″ rounded-head phillips wood screws, for legs
- #8 counter sink drill bit
- 2 small alligator clamps
- 200 grain sand paper
- water based wood stain (color of your choice)
- Watco Danish Oil
- 4 12″ hairpin legs
- drill & phillips head screwdriver


Great tips and recipes, I too love crafting, cooking, creating, building… I’m sure I will enjoy following your blog! … Keep up the awesome job! ;-). Sandy
Brilliant! Love it!! So glad to connect with you through Kate at Domestic Slice! Sad I didn’t get to meet you at Blogher but looking forward to following your blog. Have an awesome day! <3 Heidi
Excelente trabajo!! Me encanto!
Great job!