Yesterday after cleaning my kitchen from top to bottom and starting dinner in a slow-cooker, the plan being to keep my kitchen clean, I was smacked in the noggin with an idea. As I was wiping down the ice cream maker, that my dear friend LT has been gracious enough to allow me to hold hostage, I was overwhelmed with a desire to make a frosted treat. I debated myself for awhile as I looked at my pristine kitchen. There was a war brewing on my shoulders one angel resembled Mr. Clean the other was enjoying a frosty treat. Little turd and her deliciously frosted treat. I couldn’t take it any longer this chick and her treat just looked too good.
First it was just a frosted treat, then it was a frosted treat made with greek yogurt, then came the idea of chocolate, raspberry and lady fingers. Oh my!
I grabbed my purse and headed to the grocery store. In pajama pants and spiky hair no less, it was still early in the morning don’t judge me, I hadn’t made an effort yet. I grabbed a 32 oz container of greek yogurt, heavy whipping cream, whole milk, lady fingers and some semi-sweet chocolate. I told the checkout lady it was my breakfast, while she looked at me perplexed examining my wild cow lick.
Of course, the foundation of an Icebox Cake is the ice cream, or in this case frozen yogurt, so let’s start there.
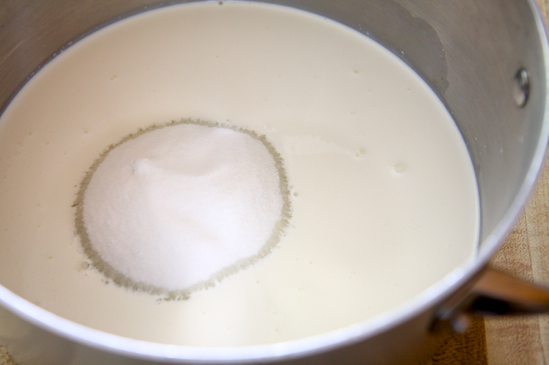
In a sauce pan combine cream, milk and sugar, over medium-high heat. Stir and cook until sugar has dissolved, about 2-3 minutes, set aside to cool;
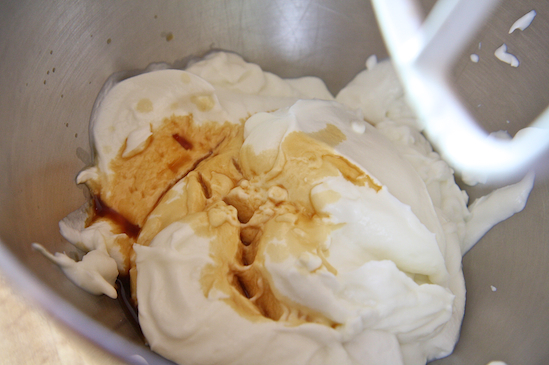
In a stand mixer combine 32 oz of Greek yogurt and vanilla, beat with a paddle until combined.
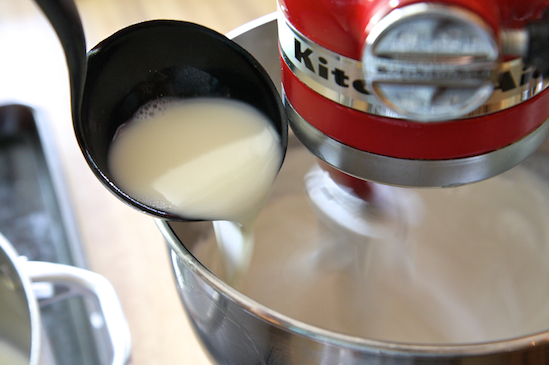
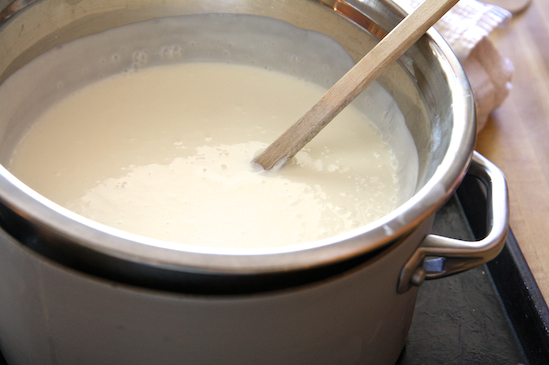
With the mixer set to stir, slowly begin to add the milk mixture.
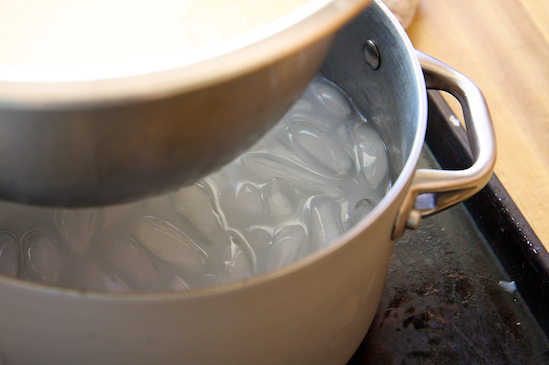
Set up an ice bath.
Transfer the yogurt mixture to a metal bowl and place over the ice bath, stir. This will quickly cool the yogurt mixture, preparing it for frostiness.
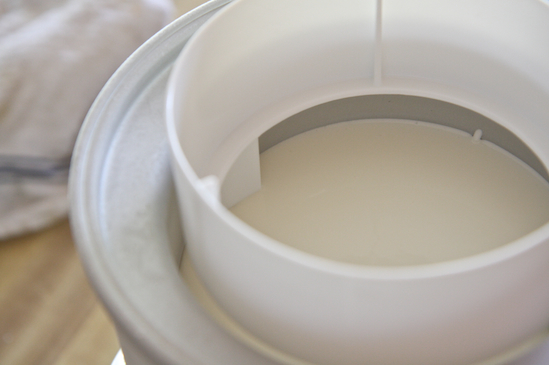
Once the yogurt mixture is nice and cool, transfer to your ice cream maker and freeze according to the manufacture instructions.
Once the frozen yogurt has churned and is ready you will have to move fast, because it will melt….duh! So I highly recommend being prepped.
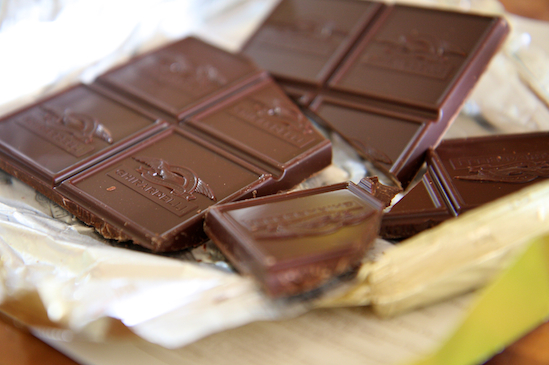
Chop 6 oz favorite semi-sweet chocolate bar into little squares. You can also use semi-sweet chocolate chips but I like the look of chopped chocolate. It’s more faaaaaancy.
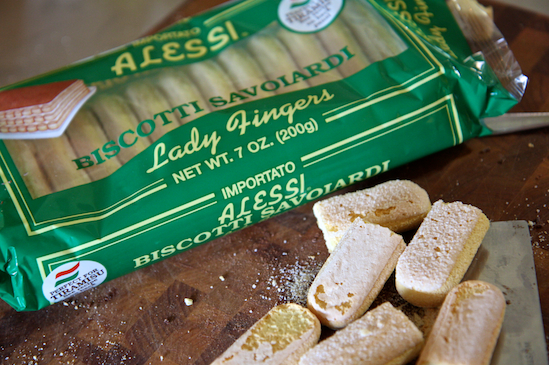
Cut 1 1/2 packs or about 10.5 oz of toasty lady fingers. I decided to use the biscotti lady fingers to give the icebox cake texture. I wanted there to be a crunch.
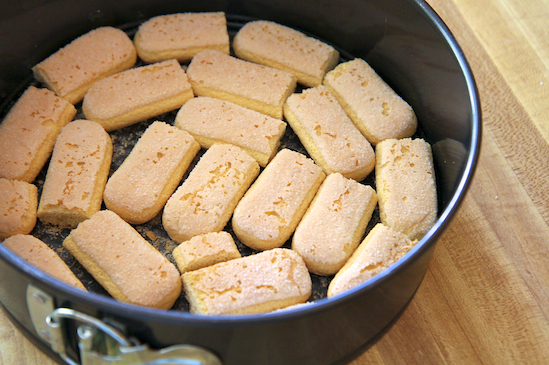
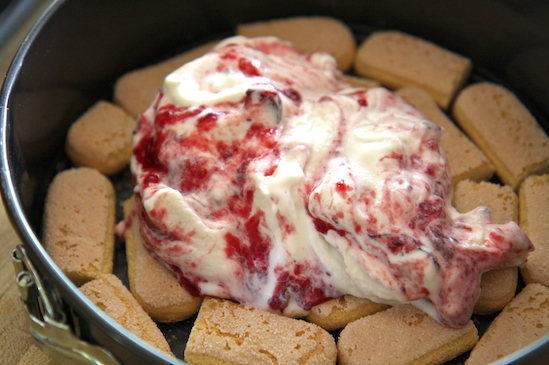
Line the bottom of an 8 1/2 in springform pan with lady fingers, accommodating as many as you can while keeping them flat.
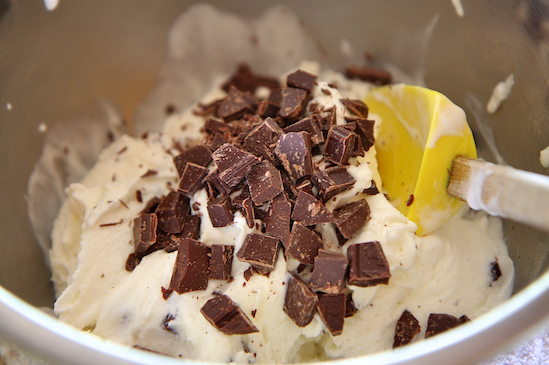
Once the frozen yogurt has churned gently fold in the chopped chocolate. I do this in a metal bowl over an ice bath to help keep the frozen yogurt cool.
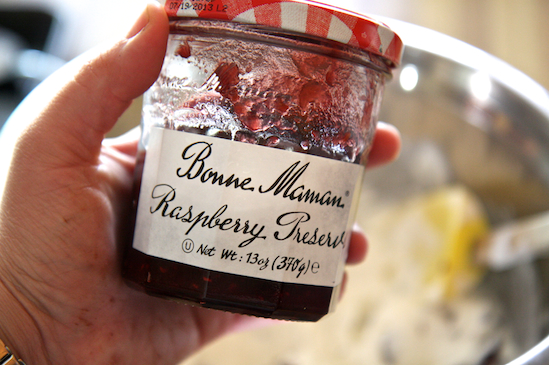
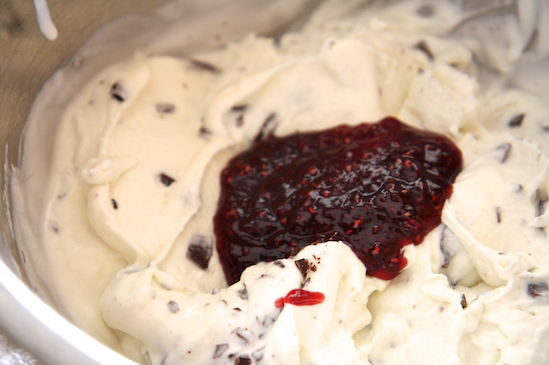
Choose your favorite raspberry preserve. Mine is this Bonne Maman, the constancy is perfect for this purpose.
Add 1/4 to 1/2 cup of preserves to the frozen yogurt. It’s up to you, depending on what ratio of raspberry you want in your frozen yogurt, it doesn’t take much.
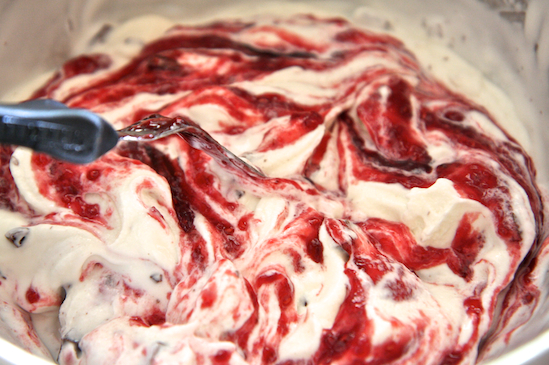
With a knife or off set spatula gently swirl the preserves into the frozen yogurt, don’t over stir. Delicious swirly goodness!
Spread 1/3 of the frozen yogurt over the first layer of lady fingers.
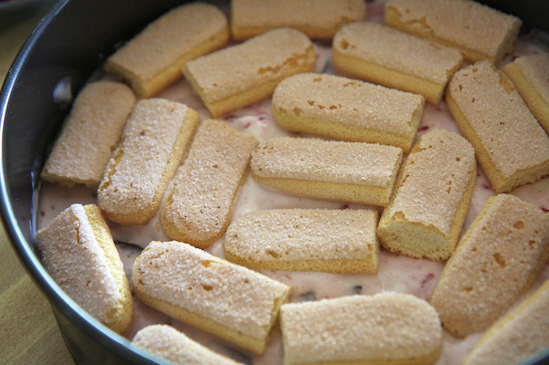
Do another layer of lady fingers.
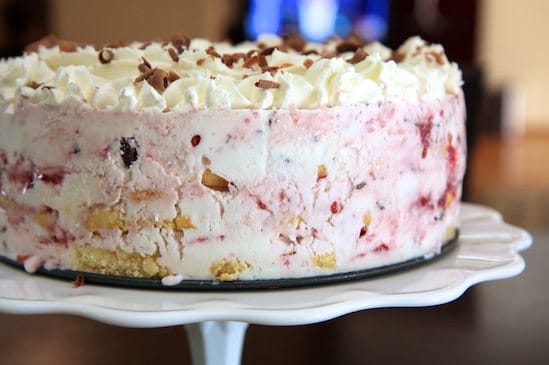
Another layer of frozen yogurt and so on. You should have three of each, finishing with frozen yogurt. Place in your “icebox”…err freezer to set.
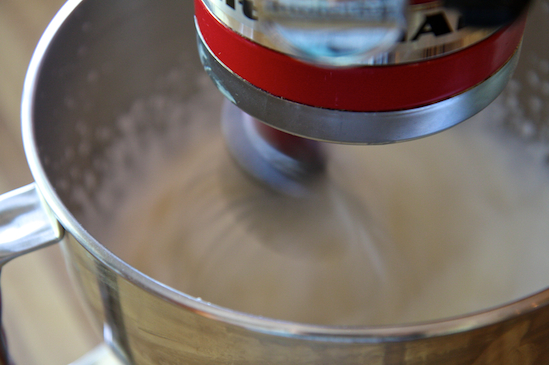
An hour or so later, whip half a cup of heaving whipping cream and 2 tbs of sugar to firm peaks.
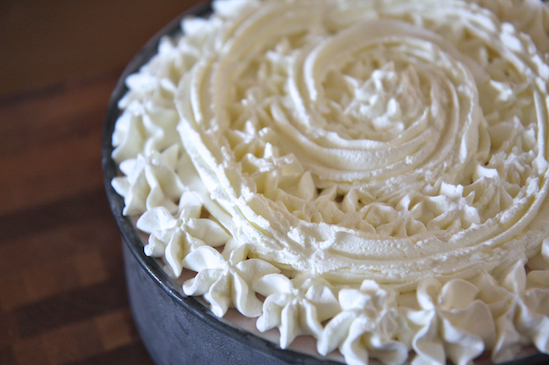
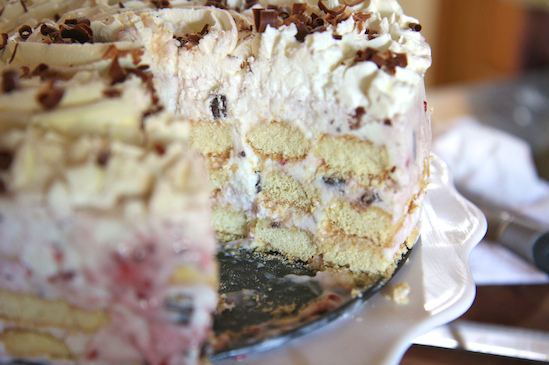
Using your choice of icing tip decorate the top of your cake however you like. If you don’t have a tip no worries, just spread over the top and lightly tap the whip cream creating peaks. Place back into the freezer for no less then 4 hours, preferably overnight.
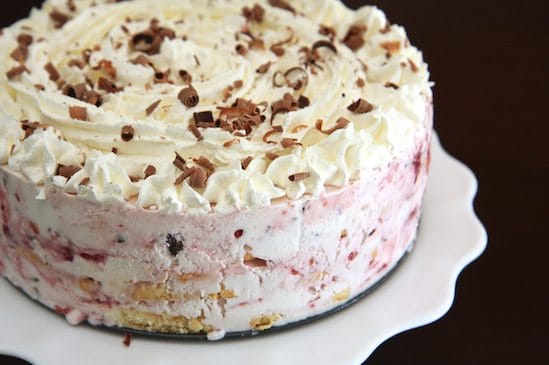
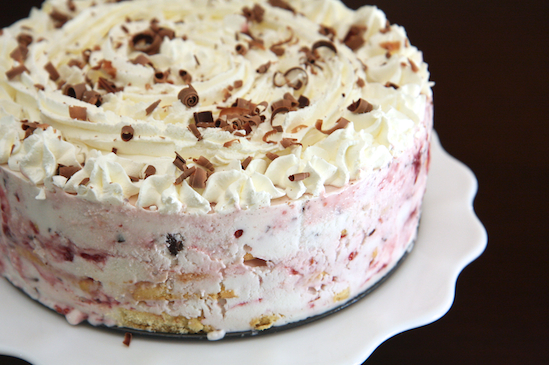
To un-mold your icebox cake run a knife around the edge and release the springform. TA-DA perfectly formed icebox cake!
I posted a picture of this yummy treat on Instagram and was overwhelmed with the feedback. I was going to post something else today, but everyone was so excited about the picture I thought I shouldn’t keep you all in suspense for too much longer.
Because of an utter lack of patience and some unexpected visitors, I sliced into the “cake” before my recommended overnight freeze.
Of course, my spotless kitchen was no more, Mrs. Clean angel sat in a corner scolding me from across the room. In fact, I let the mess sit overnight because it’s my kitchen and I can do it if I want to.
Raspberry & Chocolate Frozen Greek Yogurt Icebox Cake
Ingredients
- 1 1/2 cups milk
- 1 1/2 cups heavy cream
- 1 cup sugar
- 32 oz Greek yogurt
- 2 teaspoons vanilla extract
- 6 oz chopped semi-sweet chocolate
- 1/4 - 1/2 cup raspberry preserves
- 10.5 oz (approx 40) biscotti ladyfingers, halved
- 1/2 cup heavy cream
- 2 tablespoons sugar
Instructions
- In a saucepan combine cream, milk, and sugar, over medium-high heat. Stir and cook until sugar has dissolved, about 2-3 minutes, set aside to cool.
- In a stand mixer combine 32 oz of Greek yogurt and vanilla, beat with a paddle until combined. With the mixer set to stir, slowly begin to add the milk mixture.
- Set up an ice bath. Transfer the yogurt mixture to a metal bowl and place over the ice bath, stir. This will quickly cool the yogurt mixture, preparing it for frostiness. (You can also place it in the refrigerator.) Once cool, transfer to ice cream maker and freeze according to the manufacture instructions.
- While the ice cream is churning like the bottom of an 8 1/2 in a springform pan with ladyfingers, accommodating as many as you can while keeping them flat.
- Once the frozen yogurt has churned gently fold in the chopped chocolate. I do this in a metal bowl over an ice bath to help keep the frozen yogurt cool.
- Add 1/4 to 1/2 cup of preserves to the frozen yogurt. Depending on what ratio of raspberry you want in your frozen yogurt, it doesn't take much.
- With a knife or off-set spatula gently swirl the preserves into the frozen yogurt, don't over stir. Spread 1/3 of the frozen yogurt over the first layer of ladyfingers.
- Add another layer of ladyfingers, another layer of frozen yogurt, and so on. You should have three of each, finishing with frozen yogurt. Place in the freezer to set for 1 hour.
- Whip half a cup of heaving whipping cream and 2 tbs of sugar to firm peaks. Using your choice of icing tip decorate the top of your cake however you like. If you don't have a tip no worries, just spread over the top and lightly tap the whipped cream creating peaks. Place back into the freezer for no less than 4 hours, preferably overnight.
- To un-mold your icebox cake runs a knife around the edge and release the springform. TA-DA perfectly formed an icebox cake!
Recommended Products
As an Amazon Associate and member of other affiliate programs, I earn from qualifying purchases.
-
Wilton Icing Spatula, 13-Inch, Angled Cake Spatula
-
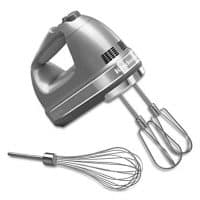
KitchenAid 7-Speed Digital Hand Mixer with Turbo Beater II Accessories and Pro Whisk
-
Whole Foods Market, Cookies Ladyfingers Organic, 7 Ounce
-
Wilton Excelle Elite Non-Stick Springform Pan, 10-Inch - 2105-435
-
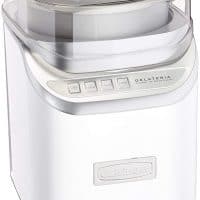
Cuisinart ICE-60W Cool Creations Ice Cream Maker
Nutrition Information:
Yield:
8Serving Size:
1Amount Per Serving: Calories: 573Total Fat: 30gSaturated Fat: 19gTrans Fat: 1gUnsaturated Fat: 10gCholesterol: 109mgSodium: 106mgCarbohydrates: 62gFiber: 1gSugar: 48gProtein: 17g




Hi, thanks for the awesome recipe, but you can’t assume that everyone has an ice-cream maker. What if they don’t…?
Oh my goodness. I’m making this for dinner TONIGHT!
That raspberry chocolate yogurt mixture looks soo yummy (as does the whole cake!). I may just make this and have it as an ice cream. Beautiful presentation too!