I have a deep love for all things sunburst, starburst or atomic burst. Apparently I like bursts.
I have a collection of small sunbursts in my living room, but I’ve been wanting a super large sunburst to put over our bed. But, super large sunbursts are super expensive. My search for the right sunburst mirror has taken me to countless estate sales, thrift stores, websites and stores. I’ve come across a few, but they were all well over $150 and I wasn’t ready to fork out that much money.
Then as fate would have it I stumble across a DIY sunburst mirror. Apparently with a bunch of cheap-o wood shims and a crap-ton of glue I could make my own sunburst mirror. *face palm* Why didn’t I think of this before!?
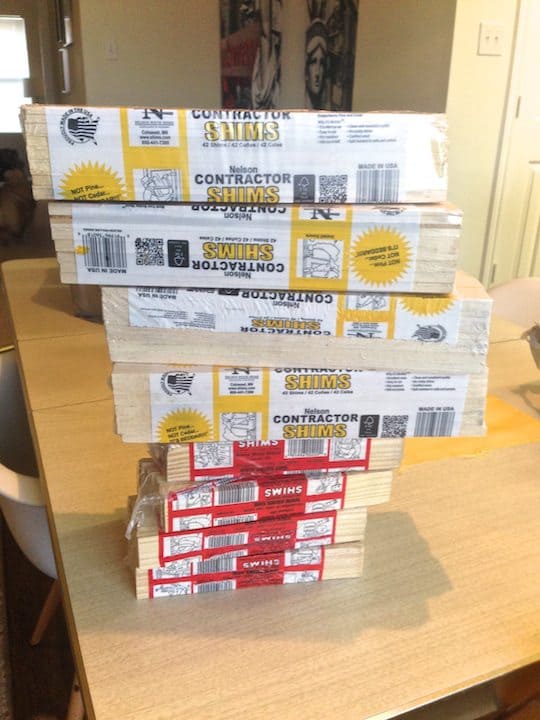
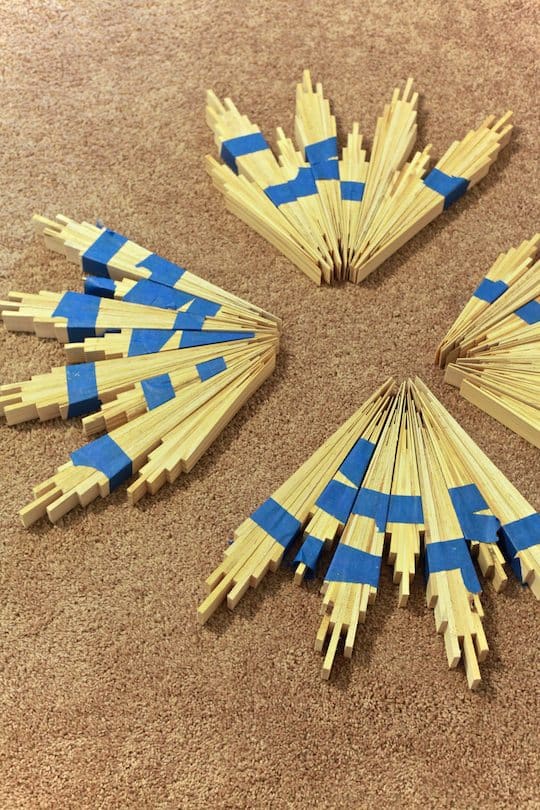
The following weekend I ran out to Lowe’s and practically bought them out of shims. I also bought the biggest bottle of wood glue they had. I made 16 bundles using 7 8″ shims and 16 bundles using 9 12″ shims, staggering them to create a pattern. I will confess I was a little OCD about it. I also used painter’s tape to hold the shims together for the glue to set.
Once each individual bundle has set I glued the bundles together to create quarters. Once the quarters set I glued the quarters together to create halves and once those set I glued the halves together to create the whole sunburst.
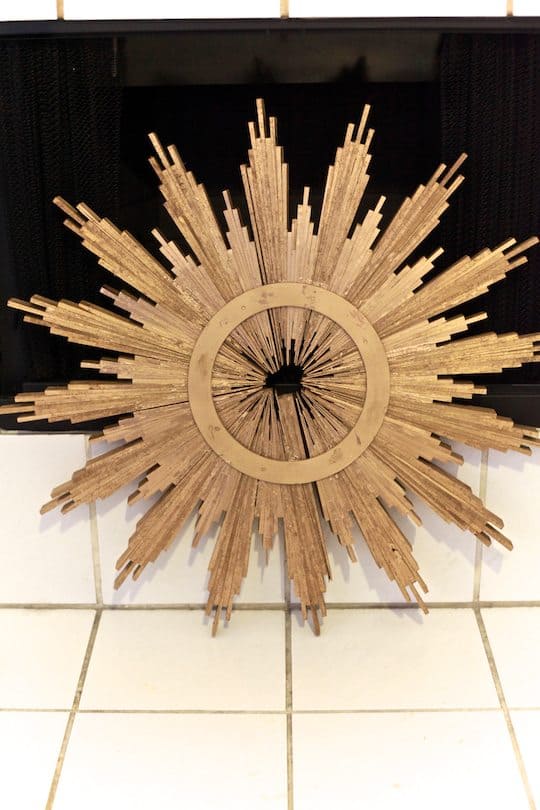
However, since all the shims are not the same width there were some gaps, which made it a little challenging when gluing together. To secure everything I glued a ring on the front and back using wood glue. Weighing each one down with dumbbells to let the glue set.
Once the rings set I filled the holes with wood putty and spray painted the whole thing. Then once it was dry I glued the mirror on using gorilla glue. I also weighed the mirror down with a book and dumbbell to let it set.
Finally I attached some picture hanging hardware on the back and hung it up.
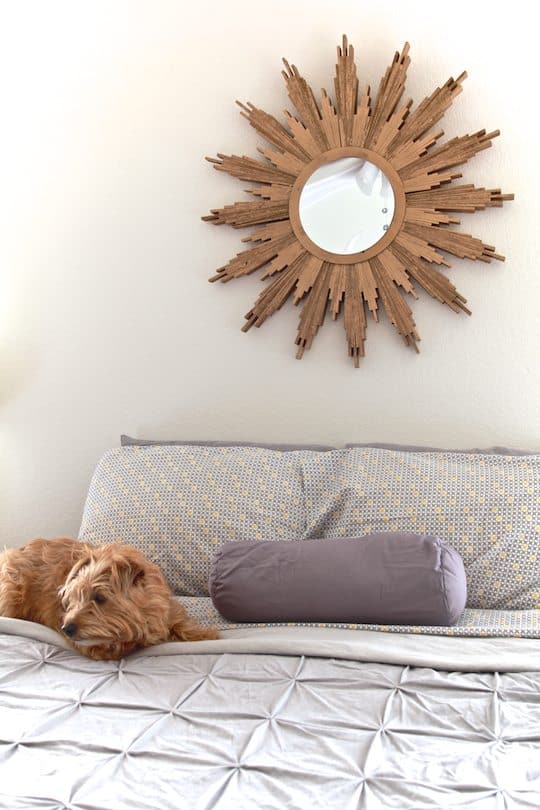
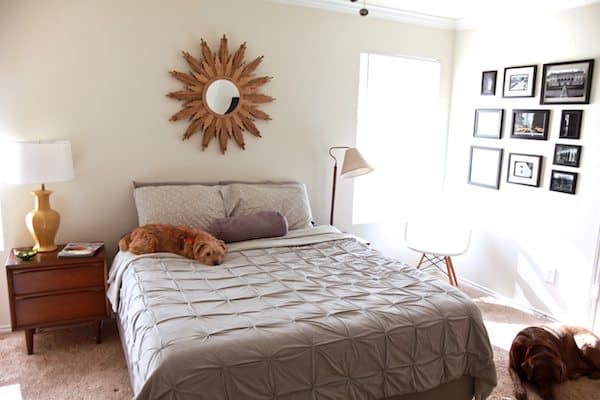
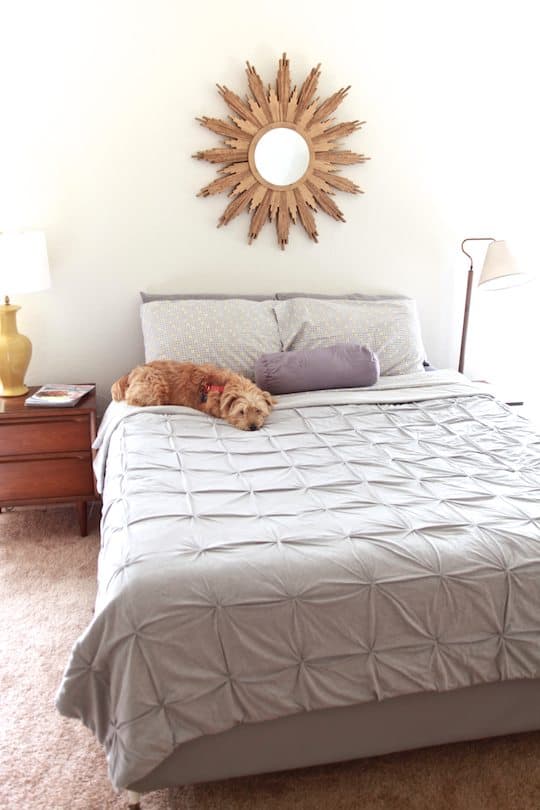
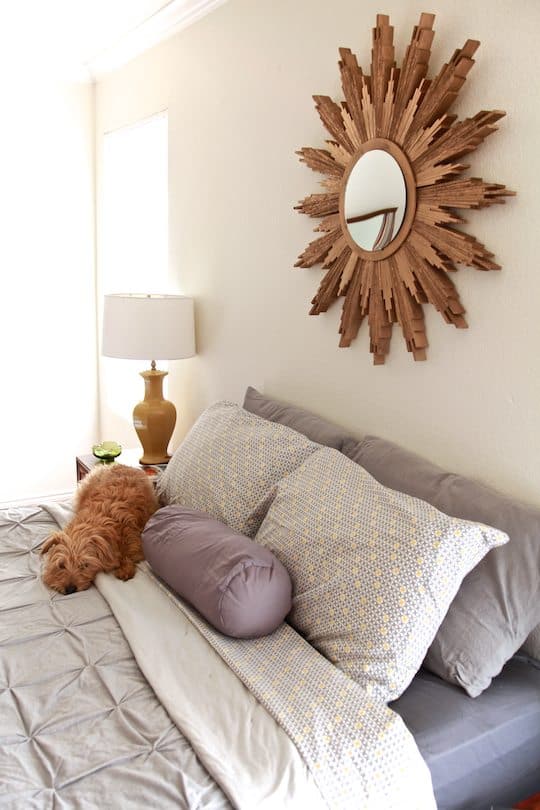
I LOVE IT! It’s everything I wanted and it cost me less than $50 to make! I love DIY!
I was pretty surprised with how big it turned out. Which was perfect because I needed it to fill a large space. Buster wasn’t particularly impressed. He was more interested in the fresh clean sheets that I had just put on the bed.
Yup he doesn’t seem to care one bit, but I on the other hand am absolutely thrilled!
This is an easy project that can be done on the weekend. And, what is great about it is that you can easily make it your own by changing up the pattern or color. If you like I am sure it would be simple enough to put a clock in the center in place of a mirror.
Here is a full list of supplies!
List of Supplies
- 4 packs of 42 count, 12″ long shims (found in the door/window aisle at Lowes)
- 8 packs of 14 count, 8″ long shims (found in the door/window aisle at Lowes)
- Elmer’s Wood Glue (8 oz)
- Gorilla glue
- 10” round mirror from Michaels
- Spray paint in desired color
- 2 12″ biodegradable floral craft rings
- wood puddy
- Picture hanging hardware
Checkout more DIY sunburst mirrors inspirations!
Create. Live. Design. – DIY Shim Sunburst Mirror
346 Living – Wood Shim Sunburst Mirror
Life. Love. Larson – DIY Sunburst Mirror
Ciburbanity – Sun(Burst) Mirror and Rain
Sweet Number 9 – The Sun is Shining


That looks really amazing! I cannot believe it cost not so much. I’m gonna have to give it a try!
Please can u let me know what kind and color of spray paint you used? Also it
Looks like two different colors on the big and small sections. And one more, where did up find the wooden ring?
Thanks so much for this tutorial!! Love this and can’t wait to get it done!
Anna:)
I am not 100% sure what paint I used but it was a gold and I used the same paint on the whole mirror. Also, I found the wooden ring at Michael’s in the floral section.
What is the diameter of your sunburst mirror? It’s lovely!!
I am not 100% sure and unfortunately I gave it away since we are living in our camper now. But, my best guess would be about 30 inches in diameter. Because the longest shims are 12 inches and there was a small space in the center. I am not great at math so you may want to double check this. 😛
I know I’m late to the party, but thanks for including my sunburst mirror in your round up! I absolutely love the look of your DIY! I might need to do this when I tire of mine! For now, I’m still loving it!
Can I ask what kind of picture hanging hardware you ended up using? I saw a similar DIY version of this wood shim mirror and finished mine a few weeks ago but haven’t been brave enough to try to hang it since it’s so heavy. I wasn’t sure what exactly I should use…. And I wish I’d seen your version first because it’s so much more interesting with the different lengths!
I used a large heavy duty d-ring and screwed it into the back. It’s still hanging over my bed with no problems.
That looks amazing! I cannot believe it cost under $50. I think I’m gonna have to give it a try!
Thanks for link, Meseidy! Not sure whether that’s just part of your site, but regardless… much appreciated! LOVE how yours came out… that stain is amazing. I kind of want to do it again like you did… 🙂
Charlotte
crafty AND she can cook!? you’re making me look bad!! this looks straight out of West Elm, well done chica!!